Posts

Showing posts from December, 2016

Auto light switch for bathroom using laser and IC4017

Image
Many people forgets the bathroom and toilet lamps in ON state, absolutely this causes increasing electric bill and even decrease lamps lifespan. This circuit is a simple way to turning ON and OFF the bathroom or toilet lamp automatically without using microcontroller. The circuit based on the counter IC4017 and laser. when a person go to bathroom his body cut the laser ray that is focused on the LDR in another side of the door frame, connecting and disconnecting the laser ray changed the LDR electric resistance and giving a positive signal to pin14 of the IC4017 through transistor 2N2222, since pin4 jumped to reset pin (pin15) so the output selector will be changed between pin3 and pin2. Pin3 run the transistor to running the relay. Two LEDs showing ON state and OFF state. 330 ohm resistor used to LEDs protection by giving 15mA current to them. You can use any other NPN transistor rather than 2N2222 such as BC547, C9013, 2N5551, etc.  This circuit is suitable for light switching for an
Lamp Sequencer | LM393 | Arduino

Image
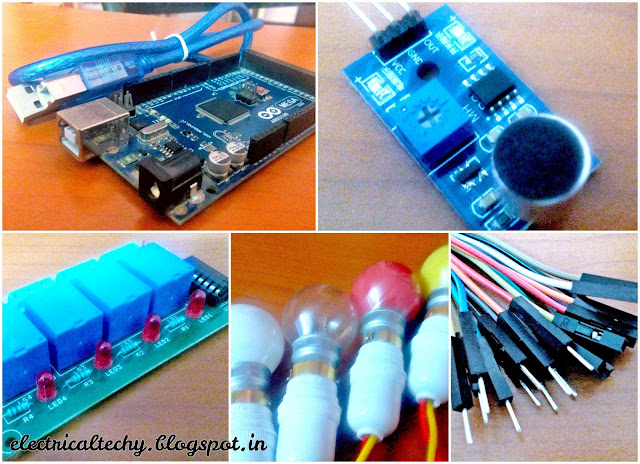
          Howdy, today we are going to do the Lamp Sequencer project which takes sound as input and respond to it. It's easy, funny and lovely. Let's get started. Hardware Required LM393 - Sound Detector Arduino Relay (5 or 12)V   Lamp with holders Hookups Hardware Software Required Arduino IDE   Download Here Arduino IDE Wiring Diagram Let connect the peripherals as described in the table below Pin outs Note: If you are using 5V relay, the above pin out is acceptable . If you are using (12 or 24)V relay, Use separate (12 or 24)V DC supply and do common ground . Looks sick 😊 Schematic Let's code 💪           Uff.. It's time to code our controller board. This is pretty long here due to sequence switching. But don't worry. Copy paste the code in your Arduino IDE. After done it, compile check and upload the program. Ensure you have selected the specified board and port. IDE-Code Prototype GIF GIF Thank you Issues, suggestions, complaints: Drop mail

Security System #02 | SW-420 | Arduino | GSM

Image
          Howdy. Today I came up with the another method of Security System which detects the vibration and sends the Alert through message and Even do calls. Check out the #01 of my Security System . Alright, let's do this. Before begin the work you might need to configure your GSM . Hardware Requirement Arduino SW-420 (Vibration Sensor) Global Systems Module (GSM) Hookups Hardware Software Requirement Arduino IDE   Download Here Arduino IDE Let's do Wiring           To communicate with the sensor and to trigger the GSM at the right time. We need the do the wiring connections as shown in the Fig. Schematic Coding time           Alright. It's time to control the body by it's soul. Copy paste the Code   in your Arduino IDE, compile and upload the code. Make sure you have selected the right port and the board. Code Upload Working of Prototype I believe in pictorials rather than words. So here I shown the working pictorial Thank you Suggestions, quires, complaints? Drop ma

Real Time Sensor Data | Email | Raspberry-Pi

Image
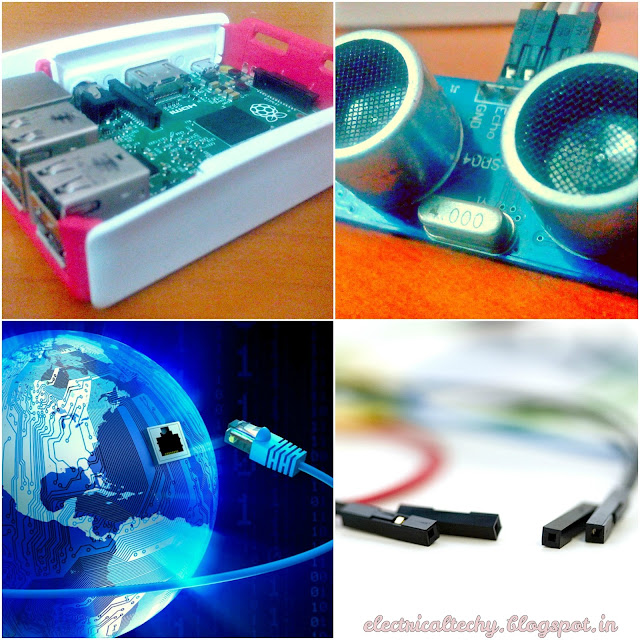
          Raspberry Pi is an single chip tiny computer board which comes up with the several internal features. It's been used for several purposes. Today I came up with the Idea of Sending the Real Time Sensor Data via Gmail . Work begins... Before jumping into it. Setting up of your pi is important Hardware Required Raspberry Pi Any Sensor (I picked Ultrasonic) Active Internet Connection Hookups Required Items Software Required Python Interpreter   (No need any Special Download. Built-in with Raspbian) Pi - Python Wiring to Sensor           As mentioned earlier I used HC-SR04 Ultrasonics sensor to read it's data. The connection between the sensor and the R-pi is shown. Pin Connections  Coding Time...           We are going to write the code in Python. Make sure you have an updated version of python in your jessie of your R-pi . If you don't have, do this sudo apt-get update sudo apt-get upgrade sudo apt-get install python3 after this is done, just copy the code and pa

Security System #01 | HC-SR501 | Arduino | GSM

Image
         Security System  is the degree of resistance, to other to access our belongings. Today I came with the Intelligent Security System which makes alert when the Intruder enters in your home or Industry. Let's make it. Hardware Required Arduino GSM module PIR Sensor Hookups Hardware Software Required Arduino IDE   Download Here Arduino IDE Work begins...           Before entering into building the prototype, GSM module should be set up in a way to transmit and receive the signal.  To set it up, click here           After setting up your GSM module. Remove all the previous connection and make the new connection as shown figure. Circuit Connections Time to code             After all done, Just copy and paste the code to your Arduino IDE. Check for proper board and port selection. Compile your code and upload it. While uploading your code disconnect the TX and RX . After successful upload of your code connect TX and RX and press the RESET button once . Coding Window Deploy